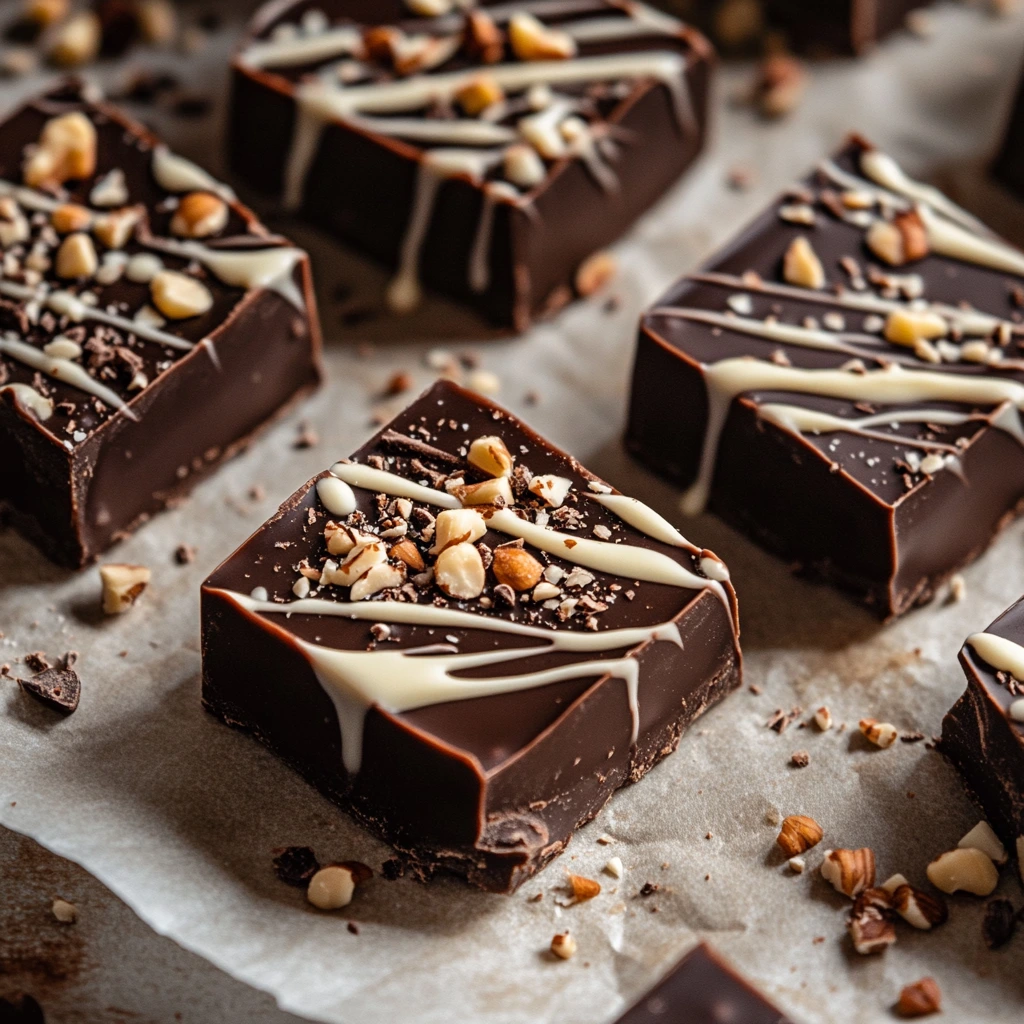
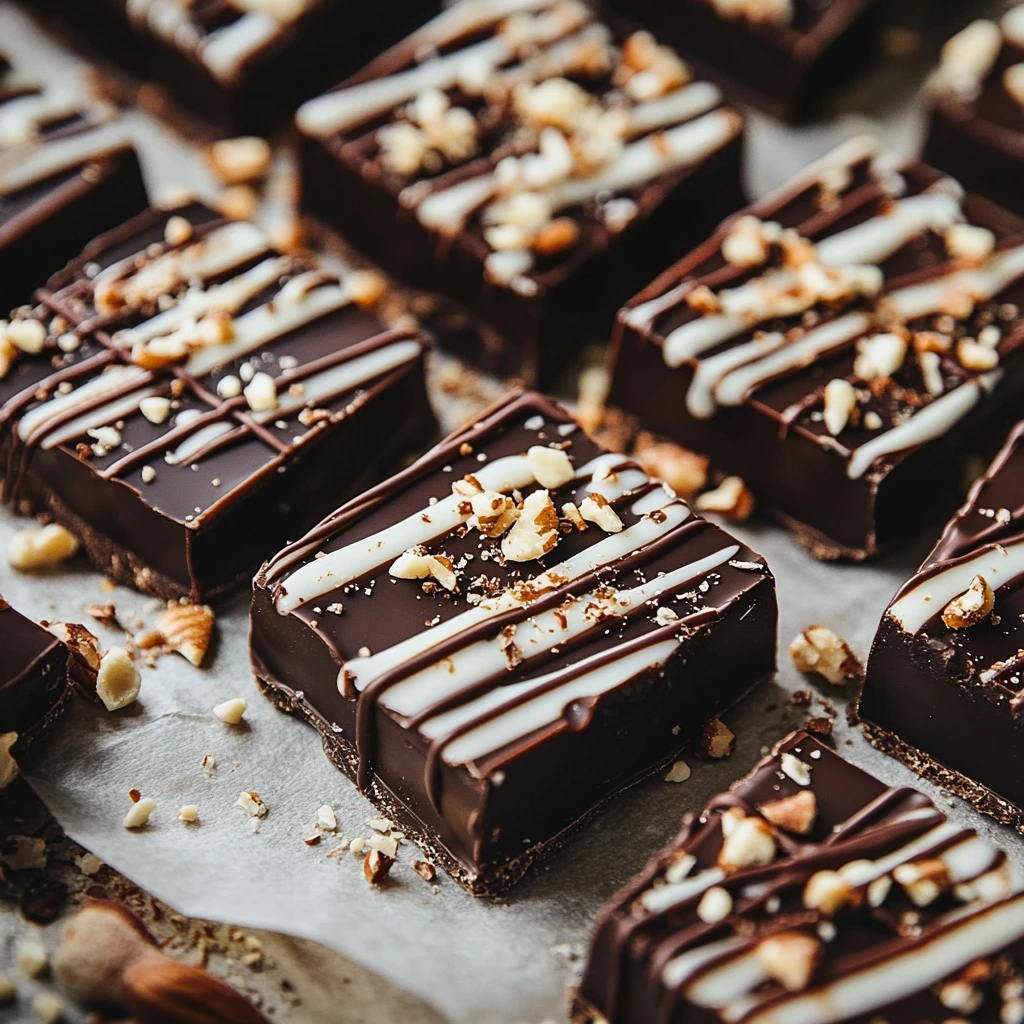
The Art of Making Chocolate with White Drizzle

There’s something magical about chocolate. It’s not just a treat; it’s an experience that evokes joy, comfort, and even nostalgia. Among its many forms, chocolate with white drizzle holds a special place. The rich, glossy chocolate paired with delicate streaks of white creates a balance of flavors and a visual feast for the eyes.
If you’ve ever thought about making this at home, let me tell you—it’s easier than you think! Whether you’re preparing it as a special treat for family and friends, a party favor, or simply to indulge yourself, chocolate with white drizzle is a fun and rewarding culinary project.
In this detailed guide, I’ll take you step-by-step through everything you need to know, from choosing the best ingredients to mastering the drizzle technique. We’ll also explore some creative variations and troubleshooting tips to make sure your chocolate turns out perfect every time.
What Makes Chocolate with White Drizzle So Special?
At first glance, chocolate with white drizzle may seem like just another dessert, but there’s a reason it’s so popular. The visual contrast between the dark base and the white streaks immediately catches your eye. But it’s not just about looks—this treat is a perfect marriage of flavors.
The richness of the chocolate base, whether dark, milk, or white, pairs beautifully with the sweet creaminess of the drizzle. The combination creates a sensory experience that’s as enjoyable to look at as it is to eat. And the best part? You can customize it however you like.
Whether you’re making it for a romantic evening, a holiday gift, or just a cozy night in, this treat is sure to impress.
Selecting the Right Ingredients for Perfect Results
The quality of your ingredients will make or break your chocolate. Since this dessert relies on just a few components, it’s worth investing in the best you can find.
The Base Chocolate
- Dark Chocolate: If you love intense, bittersweet flavors, this is your go-to. Look for chocolate with at least 60% cocoa solids for a rich taste.
- Milk Chocolate: Creamy and sweet, milk chocolate is a crowd-pleaser that appeals to almost everyone.
- White Chocolate: While usually used for the drizzle, white chocolate can also serve as the base if you’re looking for a different aesthetic.
The White Chocolate Drizzle
White chocolate isn’t just about looks—it adds a touch of sweetness and creaminess that complements the base chocolate perfectly. Look for high-quality white chocolate with a good amount of cocoa butter for a smooth, melt-in-your-mouth texture.
Optional Additions
- Coconut Oil or Butter: A small amount can give your melted chocolate a glossy finish.
- Flavor Extracts: A drop or two of vanilla, peppermint, or even almond extract can elevate the flavor.
- Toppings: Nuts, sprinkles, crushed cookies, or dried fruit can be sprinkled on top for added texture and flavor.
Essential Tools for a Smooth Process
Before you get started, gather the tools you’ll need. Don’t worry; you won’t need anything fancy. Most of these items are likely already in your kitchen:
- Double Boiler or Microwave: For melting the chocolate gently and evenly.
- Piping Bag or Plastic Bag: This is key for creating those fine, precise drizzle lines.
- Baking Tray: A flat surface for spreading and setting your chocolate.
- Parchment Paper: Keeps your chocolate from sticking and makes cleanup a breeze.
- Spatula: Helps you spread the melted chocolate evenly.
Step-by-Step Recipe: Making Chocolate with White Drizzle
Let’s dive into the fun part! Follow these steps, and you’ll be a drizzle master in no time.
Step 1: Melt the Base Chocolate
- Using a Double Boiler:
- Fill the bottom pot with a small amount of water and place the chocolate in the top pot.
- Heat gently, stirring continuously until the chocolate is smooth and completely melted.
- Microwave Method:
- Break the chocolate into small pieces and place them in a microwave-safe bowl.
- Heat in short bursts of 20 seconds, stirring between each interval, to prevent overheating.
Step 2: Pour and Spread the Chocolate
- Line a baking tray with parchment paper.
- Pour the melted chocolate onto the tray and spread it evenly using a spatula.
- Tap the tray gently on the counter to smooth out the surface and remove air bubbles.
Step 3: Prepare the White Chocolate for Drizzling
- Melt the white chocolate using the same method as above.
- For a smoother drizzle, stir in a teaspoon of coconut oil or butter.
Step 4: Drizzle the White Chocolate
- Transfer the melted white chocolate into a piping bag or a small plastic bag.
- Snip a tiny corner off the bag to create a fine opening.
- Hold the bag over the base chocolate and move your hand in quick, zigzag motions to create the drizzle effect.
Step 5: Add Toppings (Optional)
If you want to add a personal touch, sprinkle toppings like crushed nuts, sprinkles, or sea salt over the chocolate while it’s still wet.
Step 6: Set and Serve
- Let the chocolate cool completely at room temperature or place it in the refrigerator for faster setting.
- Once hardened, break or cut the chocolate into pieces and enjoy!
Creative Variations to Try
One of the best things about this recipe is how versatile it is. Here are some ideas to make it your own:
1. Seasonal Flavors
- Add crushed candy canes for a festive holiday twist.
- Sprinkle pumpkin spice for a fall-inspired treat.
2. Layered Chocolate
- Pour a layer of dark chocolate, let it set slightly, then add a layer of milk or white chocolate before drizzling.
3. Fun Shapes
- Use silicone molds to create hearts, stars, or other fun shapes. Drizzle white chocolate after unmolding.
4. Nutty Delights
- Add chopped almonds, hazelnuts, or pistachios to the base chocolate for added crunch.
Troubleshooting Common Issues
Even with the simplest recipes, things can sometimes go wrong. Here are some tips to handle common problems:
Problem: Chocolate Seizes (Turns Grainy)
- This happens when water gets into the chocolate. Make sure all your tools are completely dry before starting.
Problem: Drizzle Is Too Thick
- If your white chocolate isn’t flowing smoothly, stir in a small amount of coconut oil or butter to thin it out.
Problem: Uneven Drizzle
- Practice on a piece of parchment paper before drizzling on your chocolate base to get the hang of it.
Storing Your Chocolate with White Drizzle
Once your chocolate is ready, proper storage will ensure it stays fresh and delicious:
- Room Temperature: Store in an airtight container for up to two weeks, away from direct sunlight or heat.
- Refrigeration: If your kitchen is warm, keep the chocolate in the fridge. Place parchment paper between layers to prevent sticking.
- Freezing: For longer storage, freeze the chocolate in a sealed container. Thaw at room temperature before serving to prevent condensation.
Why You Should Make This at Home
Making chocolate with white drizzle isn’t just about the end result—it’s about the experience. The process is relaxing and creative, making it a perfect activity to do with kids, friends, or even on your own. Plus, homemade treats always taste better because of the effort and love you put into them.
Whether you’re a chocolate connoisseur or a complete beginner, this recipe is easy to follow and endlessly customizable. It’s an affordable way to create something that looks and tastes like it came from a fancy chocolatier.
Nutrition Information
Here’s an approximate breakdown of the nutritional content per serving of Philly Cheesesteak Tortellini Pasta (based on a recipe serving 6 people):
| Nutrient | Amount per Serving |
|---|---|
| Calories | 580 – 650 kcal |
| Protein | 28 – 32 g |
| Total Fat | 28 – 32 g |
| Saturated Fat | 14 – 18 g |
| Cholesterol | 90 – 110 mg |
| Sodium | 950 – 1100 mg |
| Total Carbohydrates | 50 – 55 g |
| Dietary Fiber | 3 – 4 g |
| Sugars | 4 – 6 g |
| Calcium | 180 – 220 mg |
| Iron | 2 – 3 mg |
Note: The exact values may vary depending on the specific ingredients and brands used.
FAQs
How to get white chocolate to drizzle?
To make white chocolate drizzle-ready, gently melt it in a double boiler or microwave. Use short bursts in the microwave, stirring in between to prevent burning. If it’s too thick, you can add a teaspoon of coconut oil or vegetable shortening to thin it out. Once it’s smooth, pour it into a piping bag or use a spoon for drizzling. This technique ensures your white chocolate flows beautifully without clumping, creating a professional finish for desserts.
What is the chocolate with white stuff?
The “white stuff” often seen on chocolate is called chocolate bloom, which occurs when fat or sugar rises to the surface. Fat bloom happens due to temperature changes, while sugar bloom results from moisture exposure. Though it may look odd, the chocolate is still safe to eat. To prevent bloom, store chocolate in a cool, dry place, away from humidity or drastic temperature changes, preserving its smooth texture and rich flavor.
What kind of chocolate to use for drizzling?
For drizzling, use high-quality couverture chocolate or any baking chocolate with a high cocoa butter content. These chocolates melt smoothly and set with a glossy finish, making them ideal for decoration. If you’re looking for convenience, chocolate chips work too, though adding a little oil or shortening may be needed to achieve the right consistency. Remember, the better the chocolate, the more polished and tasty your drizzle will look and taste.
How do you thin melted chocolate to drizzle?
To thin melted chocolate for drizzling, mix in a small amount of neutral oil, such as coconut or vegetable oil, or use shortening. Stir well until the chocolate becomes silky and flows easily. Avoid adding water, as it can cause the chocolate to seize and become grainy. Achieving the right consistency is key to creating smooth, elegant drizzles on cakes, cookies, or any treat you’re decorating.
Final Thoughts
Chocolate with white drizzle is more than just a dessert—it’s a canvas for your creativity. With a few simple ingredients and some basic tools, you can create a treat that’s as delightful to look at as it is to eat.
So why not give it a try? Once you see how easy and fun it is to make, you’ll want to whip up batch after batch for every occasion. Trust me, your friends and family will be asking for your “secret recipe” in no time!
More Delicious Recipes to Explore

