Mini Banana Muffins Recipe: A Step-by-Step Guide to Perfect Bite-Sized Treats

Mini banana muffins are a fantastic option for those who love baking but don’t want to commit to making an entire cake or a dozen full-sized muffins. These bite-sized treats are versatile, easy to prepare, and perfect for any occasion. Whether you’re a beginner or an experienced baker, this comprehensive guide will help you create the most delicious mini banana muffins that are moist, flavorful, and guaranteed to delight everyone. Let’s delve into the details of this recipe and explore how to customize it for your unique preferences.
Why Mini Banana Muffins Are a Must-Try
Portion Control Made Easy
Mini muffins allow you to indulge in your favorite baked goods without overdoing it. Their small size makes them ideal for portion control, and they are perfect for kids’ lunchboxes or as an on-the-go snack.
Great for Ripe Bananas
Do you have overripe bananas sitting on your counter? Mini banana muffins are the perfect solution to prevent food waste while creating something delicious.
Quick Baking Time
Unlike regular-sized muffins or banana bread, mini muffins bake quickly, making them an excellent option for last-minute baking projects or satisfying sudden cravings.
Ingredients for Mini Banana Muffins
Gathering the right ingredients is crucial for achieving the perfect texture and flavor. Here’s what you’ll need:
Dry Ingredients
- 1 ½ cups all-purpose flour: Provides structure to the muffins.
- 1 teaspoon baking soda: Helps the muffins rise.
- ½ teaspoon baking powder: Ensures light and fluffy muffins.
- ¼ teaspoon salt: Enhances the overall flavor.
Wet Ingredients
- 3 ripe bananas (mashed): The star ingredient that adds natural sweetness and moisture.
- ½ cup granulated sugar: Sweetens the muffins without overpowering the banana flavor.
- ¼ cup brown sugar (packed): Adds depth and a hint of caramel flavor.
- 1 large egg: Acts as a binder and adds richness.
- ⅓ cup melted butter or vegetable oil: Provides moisture and a tender crumb.
- 1 teaspoon vanilla extract: Enhances the overall flavor profile.
Optional Add-Ins
- ½ cup mini chocolate chips: Adds sweetness and a bit of indulgence.
- ¼ cup chopped nuts (walnuts or pecans): Adds crunch and a nutty flavor.
Step-by-Step Instructions
Now that you have your ingredients ready, let’s get started with the process. Follow these detailed steps to ensure your muffins turn out perfectly.
Preheat the Oven and Prepare Your Baking Equipment
- Preheat your oven: Set it to 350°F (175°C). Proper preheating ensures even baking.
- Prepare the mini muffin tin: Lightly grease the pan or line it with mini muffin liners to prevent sticking.
Mix the Dry Ingredients
- In a medium-sized bowl, whisk together the flour, baking soda, baking powder, and salt.
- Mixing the dry ingredients first helps distribute the leavening agents evenly.
Mash the Bananas
- Peel the ripe bananas and place them in a large mixing bowl.
- Mash them using a fork or potato masher until smooth. Some small lumps are fine, as they add texture to the muffins.
Combine the Wet Ingredients
- To the mashed bananas, add granulated sugar, brown sugar, and the egg.
- Mix in the melted butter (or oil) and vanilla extract until fully incorporated.
- Stir until the mixture is smooth and creamy.
Incorporate the Dry Ingredients
- Gradually add the dry ingredients to the wet mixture.
- Stir gently with a spatula or wooden spoon until just combined. Overmixing can make the muffins dense and chewy.
Fold in Add-Ins (Optional)
- If you’re adding chocolate chips, nuts, or other mix-ins, fold them into the batter at this stage.
Fill the Mini Muffin Tin
- Use a small scoop or spoon to fill each cavity of the mini muffin tin about ¾ full. This allows room for the muffins to rise.
Bake the Muffins
- Place the tin in the preheated oven and bake for 12–15 minutes.
- Check for doneness by inserting a toothpick into the center of a muffin. If it comes out clean, they’re ready.
Cool and Serve
- Remove the muffins from the oven and let them cool in the pan for 5 minutes.
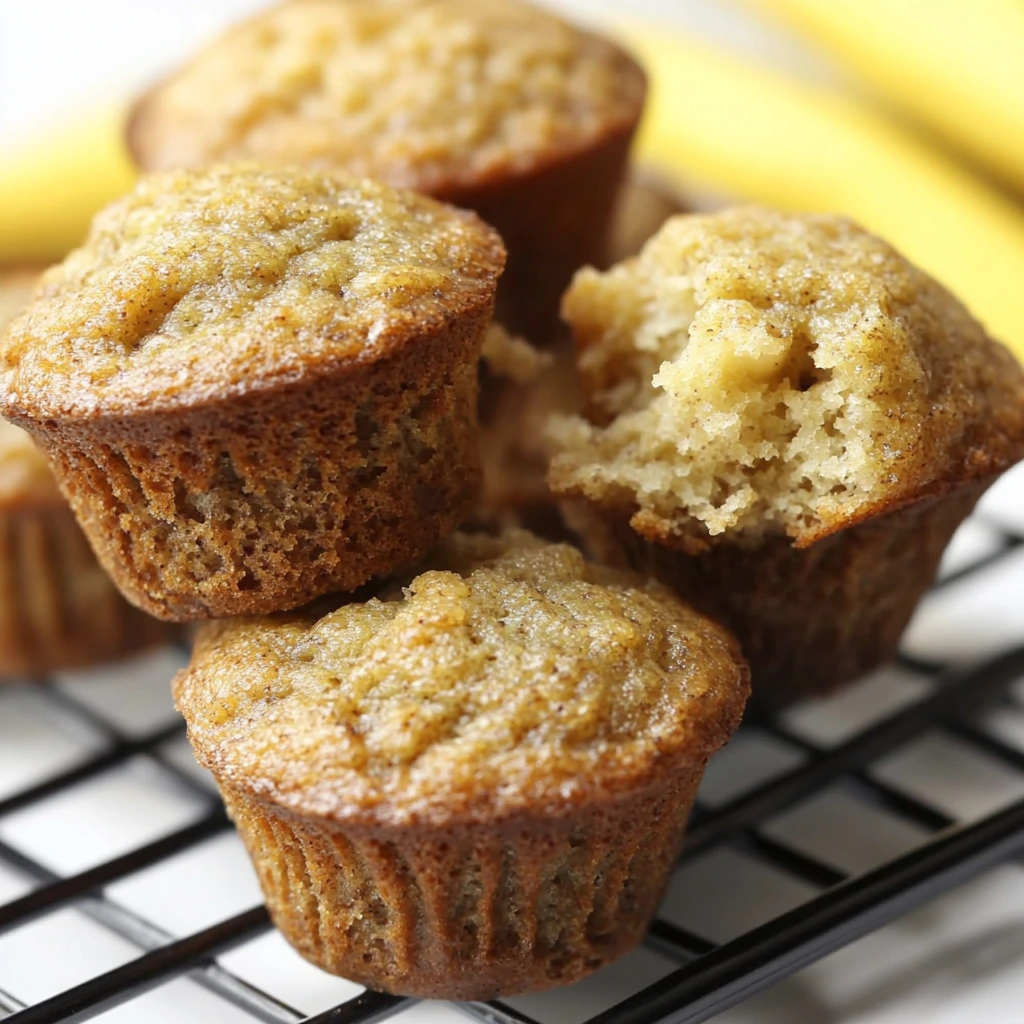
- Transfer them to a wire rack to cool completely before serving.
"Love baked treats? You’ll also enjoy our Chocolate Chip Cheesecake Cookies for every occasion."

Tips for Success
1. Use ripe bananas.
The riper the bananas, the sweeter and more flavorful your muffins will be. Look for bananas with brown spots for the best results.
2. Avoid Overmixing
Mixing the batter too much can result in dense muffins. Stir until the ingredients are just combined.
3. Experiment with Add-Ins
Feel free to get creative by adding shredded coconut, dried cranberries, or even a dash of cinnamon.
4. Test for Doneness
Ovens can vary, so start checking your muffins at the 12-minute mark to prevent overbaking.
Customizing Your Mini Banana Muffins
Healthier Alternatives
- Replace granulated sugar with honey or maple syrup.
- Use whole wheat flour instead of all-purpose flour for added fiber.
- Substitute butter with unsweetened applesauce for a lower-fat option.
Flavor Variations
- Add a teaspoon of cinnamon or nutmeg for a warm, spiced flavor.
- Swirl in a tablespoon of peanut butter or Nutella for a fun twist.
Presentation Tips
- Dust the muffins with powdered sugar for a decorative touch.
- Drizzle melted chocolate or a simple glaze over the tops for added sweetness.
Serving Suggestions
Mini banana muffins are incredibly versatile. Here are some serving ideas:
- Pair them with coffee or tea for a quick breakfast.
- Serve them as part of a dessert platter at parties.
- Pack them in lunchboxes for a midday treat.
Nutritional Breakdown (Per Muffin)
Here’s a quick overview of the nutritional value of these mini muffins:
- Calories: 80
- Carbohydrates: 12g
- Protein: 1.5g
- Fat: 3g
- Sugar: 6g
- Fiber: 0.5g

Storage Tips
Room Temperature
Store the muffins in an airtight container for up to 3 days. To keep them moist, place a slice of bread in the container.
Freezing
Freeze the muffins in a zip-top bag or airtight container for up to 3 months. Thaw at room temperature or warm them in the microwave for 10–15 seconds before serving.
If you’re a fan of muffins, you’ll love the moist and fluffy texture of our Banana Split Cake Recipe
FAQs About Mini Banana Muffins
What is the secret to moist muffins?
The secret to moist muffins lies in balancing the right ingredients and not overmixing the batter. Using ingredients like yogurt, sour cream, or mashed fruits (e.g., bananas or applesauce) can add extra moisture. Another tip is to measure flour correctly—too much can dry them out, so it’s best to spoon it into the measuring cup and level it off. Baking them just until a toothpick comes out clean ensures they don’t overbake. Finally, letting them cool in the pan briefly before transferring them to a rack helps retain moisture.
Why are my mini muffins dry?
Mini muffins can turn out dry if they’re baked for too long or at too high a temperature. Because of their small size, they bake quickly—so it’s important to check them a few minutes before the recommended time. Using too much flour or not enough fat (like butter or oil) can also dry them out. Be sure to mix the batter gently to avoid overdeveloping the gluten, which can make muffins tough and dry. Adding a bit of moisture-rich ingredients, like mashed fruits or buttermilk, can also make a difference.
What happens if I add banana to muffin mix?
Adding banana to muffin mix not only enhances the flavor but also makes the muffins moist and tender. Bananas act as a natural sweetener, so you may need to reduce the amount of sugar in the recipe. They also provide a dense, soft texture that’s perfect for muffins. However, if you use too much banana, the muffins could become overly heavy or gummy, so it’s best to start with about one mashed banana per batch. It’s a simple way to add nutrients and a delicious twist!
How do you fill mini muffins?
Filling mini muffins is easy and adds a delightful surprise! Start by spooning a small amount of batter into the mini muffin cups—just enough to cover the bottom. Then, add a small dollop of filling, like jam, chocolate chips, or cream cheese, in the center. Cover the filling with more batter, ensuring the cups are about ¾ full. For best results, use a piping bag or small spoon for neatness. Bake as usual, and the filling will settle perfectly in the middle.

