Homemade Peach Jam Made Easy: A Step-by-Step Guide to Perfect Jars Every Time

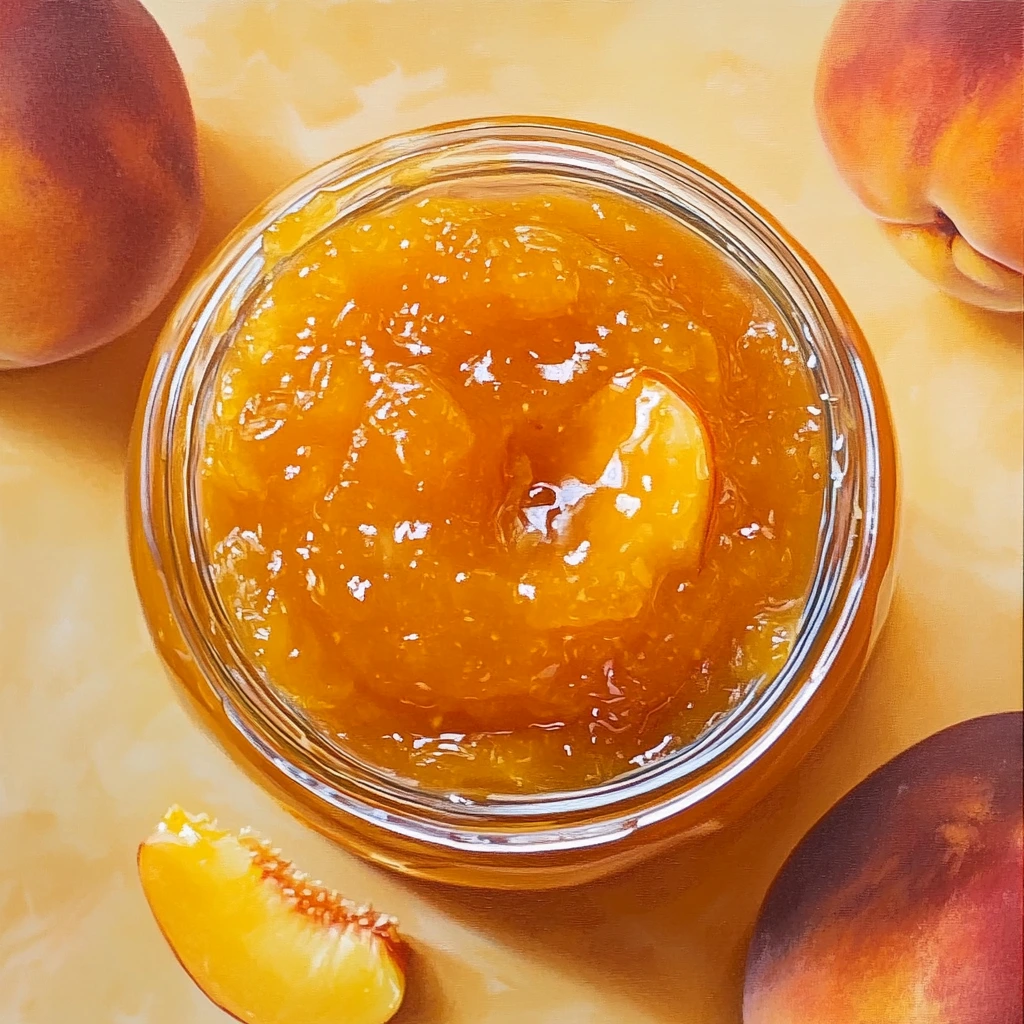
If you’ve ever tasted homemade peach jam, you know it’s like a spoonful of summer sunshine. The juicy sweetness of fresh peaches, gently cooked into a rich, golden spread, can brighten your mornings and desserts alike. But here’s the thing—making peach jam isn’t just delicious; it’s also a deeply rewarding experience. Whether you’re a kitchen pro or someone who only breaks out the pots and pans on special occasions, you can master this recipe with a little guidance.
Pull up a chair, grab your apron, and let’s dive into everything you need to know to make your very own peach jam. I promise, it’s simpler than you think, and the results are worth every minute spent in the kitchen.
Why Should You Make Peach Jam?
Let’s start with the obvious: peach jam tastes amazing. But beyond that, making it at home gives you complete control. You can tailor the sweetness, skip unnecessary preservatives, and enjoy the satisfaction of creating something from scratch. Plus, you get to fill your kitchen with the mouthwatering aroma of peaches simmering on the stove. Honestly, that alone is worth it!
And let’s not forget how versatile peach jam is. Whether you’re spreading it on warm toast, layering it in a cake, or using it as a glaze for roasted meats, peach jam adds a burst of flavor that transforms any dish into something special.
Tools You’ll Need for Effortless Jam-Making
Before you begin, it’s helpful to gather the right tools. A heavy-bottomed pot is essential for even cooking and preventing scorching, while a wide spoon or spatula helps with stirring. A candy thermometer isn’t mandatory but can be useful for checking when your jam has reached the gel point. Don’t forget sterilized jars, a funnel for mess-free pouring, and a jar lifter to handle hot containers safely. Having these tools on hand makes the process smooth and enjoyable.
Gathering Your Ingredients: Keeping It Simple
Making peach jam doesn’t require a long list of fancy ingredients. In fact, you might already have most of what you need in your pantry. Here’s the lineup:
The Basics
- Peaches: You’ll need about 4 pounds of fresh peaches for this recipe. Aim for ripe, fragrant ones—they’re the key to a flavorful jam.
- Sugar: About 4 cups will do the trick. You can adjust this based on how sweet your peaches are and your personal taste.
- Lemon juice: A couple of tablespoons is all you need. It brightens the flavor and helps with preservation.
Optional but Handy
- Pectin: If you’re looking for a firmer texture, a small amount of pectin can make the process easier. It’s not essential, though; you can get great results without it.
That’s it! No artificial flavors or complicated additives—just simple, wholesome ingredients.
Step-by-Step: How to Make Peach Jam
You don’t need to be a culinary wizard to make peach jam. If you can chop fruit and stir a pot, you’re already halfway there. Let’s break it down step by step.
1. Choose Your Peaches Wisely
First things first, pick the right peaches. Look for ones that are ripe but not mushy—they should feel soft when you give them a gentle squeeze and have that unmistakable peachy smell. If you can, buy them locally or in season. Fresher peaches mean better jam.
2. Prepping the Peaches: No Stress, No Mess
Peeling peaches might sound like a chore, but it’s surprisingly easy with this trick:
- Bring a large pot of water to a boil.
- Score a small “X” on the bottom of each peach with a knife.
- Drop the peaches into the boiling water for about 30 seconds, then quickly transfer them to an ice bath.
- The skins should peel right off with a little tug.
Once peeled, cut the peaches in half, remove the pits, and dice them into small chunks. Don’t worry about being too precise—this is homemade jam, not a science experiment.
3. Mash the Peaches
Take those diced peaches and toss them into a large bowl. Use a potato masher, fork, or even your hands (clean ones, of course) to mash them up. If you like a smoother jam, mash them more thoroughly; for a chunkier texture, leave a few bits intact. Measure out 4 cups of the mashed fruit, and you’re ready to move on.
4. Combine the Ingredients
Grab a large, heavy-bottomed pot—it’s jam-making time! Combine your mashed peaches, sugar, and lemon juice in the pot. Stir everything together until it’s well mixed. If you’re using pectin, follow the package instructions for when and how to add it.
5. Cook It Down
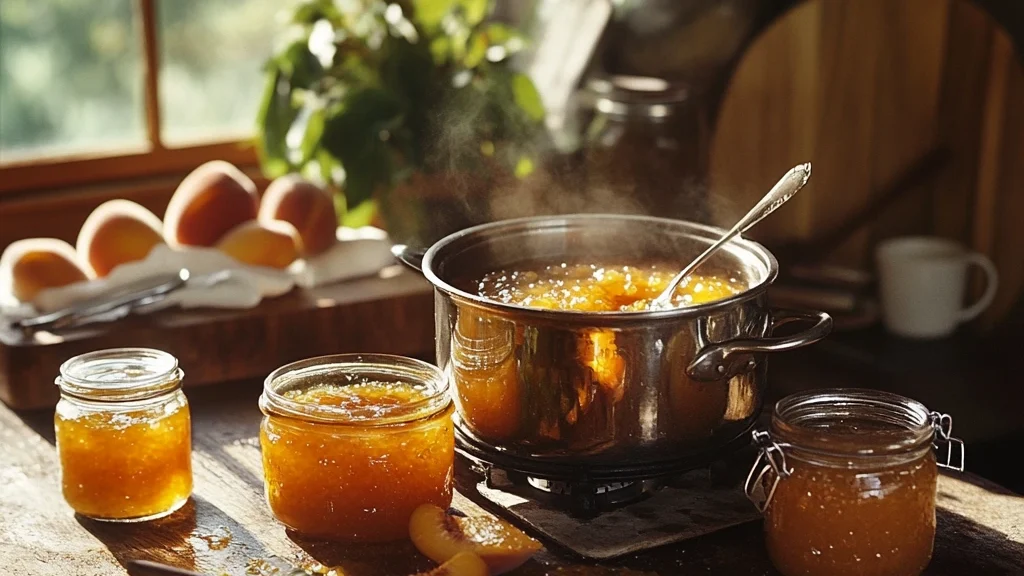
Set the pot over medium heat and let the magic happen. Stir frequently to prevent sticking, and keep an eye on the mixture as it starts to bubble and thicken. You’ll notice a layer of foam forming on top—that’s perfectly normal. Skim it off with a spoon for a clearer, more professional-looking jam.
After about 20–30 minutes, your jam should reach the right consistency. Not sure if it’s ready? Try the plate test:
- Place a small plate in the freezer for a few minutes.
- Drop a spoonful of jam onto the cold plate and let it sit for 30 seconds.
- Push the edge of the jam with your finger. If it wrinkles, you’re good to go!
6. Fill the Jars
While your jam is still hot, carefully ladle it into sterilized jars. Leave a bit of space (about 1/4 inch) at the top to allow for expansion. Wipe the rims clean, screw the lids on tightly, and process the jars in a boiling water bath for 10 minutes. This step ensures the jars are sealed and shelf-stable.
7. Cool and Store
Place the jars on a towel-lined countertop and let them cool completely. As they cool, you’ll hear a satisfying “pop” sound—this means the jars have sealed properly. Once cooled, store your peach jam in a cool, dark place. Opened jars should be refrigerated and enjoyed within a few weeks.

Troubleshooting: Common Jam-Making Questions
Making peach jam isn’t rocket science, but occasionally, things don’t go as planned. Here’s how to handle some common hiccups:
- Jam too runny? Don’t worry! You can cook it a bit longer or add a small amount of pectin to thicken it up.
- Jam too thick? Stir in a little water and reheat gently to loosen the consistency.
- Forgot to skim the foam? No big deal—it won’t affect the taste, just the appearance. Your jam will still be delicious.
Creative Ways to Enjoy Peach Jam
Sure, spreading it on toast is a classic move, but there are so many other ways to use peach jam. Here are a few ideas to spark your creativity:
- As a glaze: Brush it onto roasted chicken or pork for a sweet, caramelized finish.
- In desserts: Swirl it into cheesecake, spoon it over ice cream, or layer it in a trifle.
- With cheese: Pair it with brie, goat cheese, or sharp cheddar for a fancy appetizer.
- In sandwiches: Try it with peanut butter for an elevated PB&J or as a sweet contrast in a grilled cheese.
Personal Touches: Make It Your Own
The best part about homemade peach jam? You can customize it to suit your taste. Here are a few ways to add a little flair:
- Add spices: A pinch of cinnamon, nutmeg, or ginger can add warmth and complexity.
- Mixed fruits: Combine peaches with raspberries, strawberries, or even mango for a unique twist.
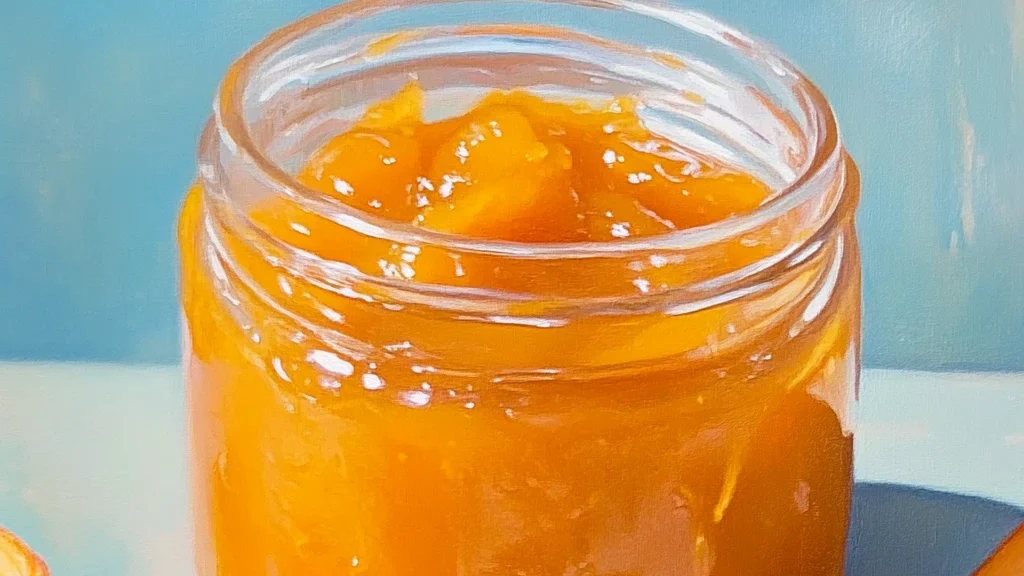
- Play with textures: For a chunkier jam, leave some peach pieces whole; for a smooth jam, blend the mixture before cooking.
Seasonal Variations: Making the Most of What’s Fresh
Peach jam can take on a seasonal twist depending on the time of year. In summer, blend peaches with fresh basil or mint for a refreshing flavor. During fall, a dash of warming spices like cinnamon and cloves can create a cozy vibe. You can even add a hint of citrus zest in winter for a bright, zippy contrast. These small adjustments let you adapt the recipe to match the season and keep things exciting.
The Joy of Sharing
One of the most rewarding aspects of making peach jam is sharing it with others. A jar of homemade jam makes a thoughtful gift for birthdays, holidays, or just because. Dress it up with a cute label and a ribbon, and you’ve got a heartfelt present that anyone would appreciate.

FAQs About Peach Jam
1. Do you have to peel peaches for jam?
Peeling peaches isn’t strictly necessary, but it’s highly recommended for a smoother texture. Peach skins can add a slight bitterness and alter the consistency of your jam. If you’re short on time or prefer a rustic feel, you can leave the skins on and blend the mixture for a more uniform result. However, most traditional recipes suggest peeling to ensure the best flavor and texture.
2. Are peach preserves the same as peach jam?
Not exactly. While both are made with peaches and sugar, the main difference lies in the texture. Peach jam has a smoother consistency because the fruit is mashed or pureed before cooking. Peach preserves, on the other hand, contain larger chunks of fruit, offering a more robust texture. The choice between the two depends on personal preference and how you plan to use the spread.
3. How do you keep peach jam from turning brown?
To prevent browning, it’s essential to use lemon juice in your recipe. The acidity in lemon juice slows oxidation, keeping the jam’s vibrant color intact. Additionally, make sure to store your jars in a cool, dark place, as prolonged exposure to light and heat can cause discoloration over time. Proper sealing during canning also helps maintain freshness and color.
Final Thoughts
Making peach jam is more than just a recipe; it’s a way to capture the season’s best flavors and enjoy them all year long. From the satisfying process of cooking it down to the delight of popping open a jar on a chilly winter morning, every step is a little celebration of life’s simple pleasures. So, the next time you find yourself with a basket of ripe peaches, take a deep breath, roll up your sleeves, and dive in. You’ve got this!
More Delicious Recipes to Explore

